Tassel Cutting Guide
The tassel cutting guide I designed and fabricated for Melissa cuts tassels eight times faster than the old method. It also cuts them more consistently and accurately and makes the task of cutting tassels less physically and mentally fatiguing for Melissa.


Problem
Cutting bookmark tassels is hard. Melissa works in a local woodshop that makes a variety of wooden products, but bookmarks are one of their best sellers. Each bookmark is decorated with a small leather tassel. Cutting tassels and assembling bookmarks are some of Melissa’s responsibilities.
Melissa explains, “It always takes so long to cut these tassels, and of the finished tassels, many need to be re-trimmed because they weren’t cut accurately enough.”

Hi, I’m Melissa. “One of my responsibilities at work is cutting tassels. It’s a time consuming and tedious task, and I always dread doing it when I need to cut more.”
Old method
The old process for cutting tassels was cutting straight lines with a plastic ruler and rotary cutter. Aligning the ruler by hand for every tassel, made it extremely difficult to be precise. Focusing so intensely on making every cut perfect was extremely tedious. No wonder Melissa dreaded cutting tassels, and it makes sense why the tassels were inconsistent in size, shape, and pointedness.


precision is crucial
Bookmarks are given leather tassels and beads. If the ends of the tassels are cut bluntly, then it is difficult to thread through the bookmark and bead.
Solution
A three-part tassel cutting system that guides each cut Melissa makes and allows her to cut more tassels quicker and easier than before. A system that cuts tassels precisely and does not require focused attention or high skill level from Melissa or any other user.
included
The whole system consists of one cutting board with pegs and two cutting guides with notches.

New Method
The new process I designed can be broken into six easy steps.
Stack three layers of leather on the cutting board inside the outlined rectangle.
Align the notches on the bottom edge of the cutting guide with the pegs on the cutting board and lay the guide down.
Cut the leather with a rotary cutter through the channels in the first cutting guide.
Replace the first cutting guide with the second and make sure to align the notches like before.
Cut through the leather along the channels in the second cutting guide.
Remove the second cutting guide and sort the tassels from the scrap material.
This process is less physically and mentally fatiguing. It uses large muscle groups like the arms, shoulders, and back, which are stronger and more resistant to fatigue. Because Melissa is now able to cut along the channels in each cutting guide, she doesn’t need to focus attention on the precision of each cut, making the activity less mentally tedious.
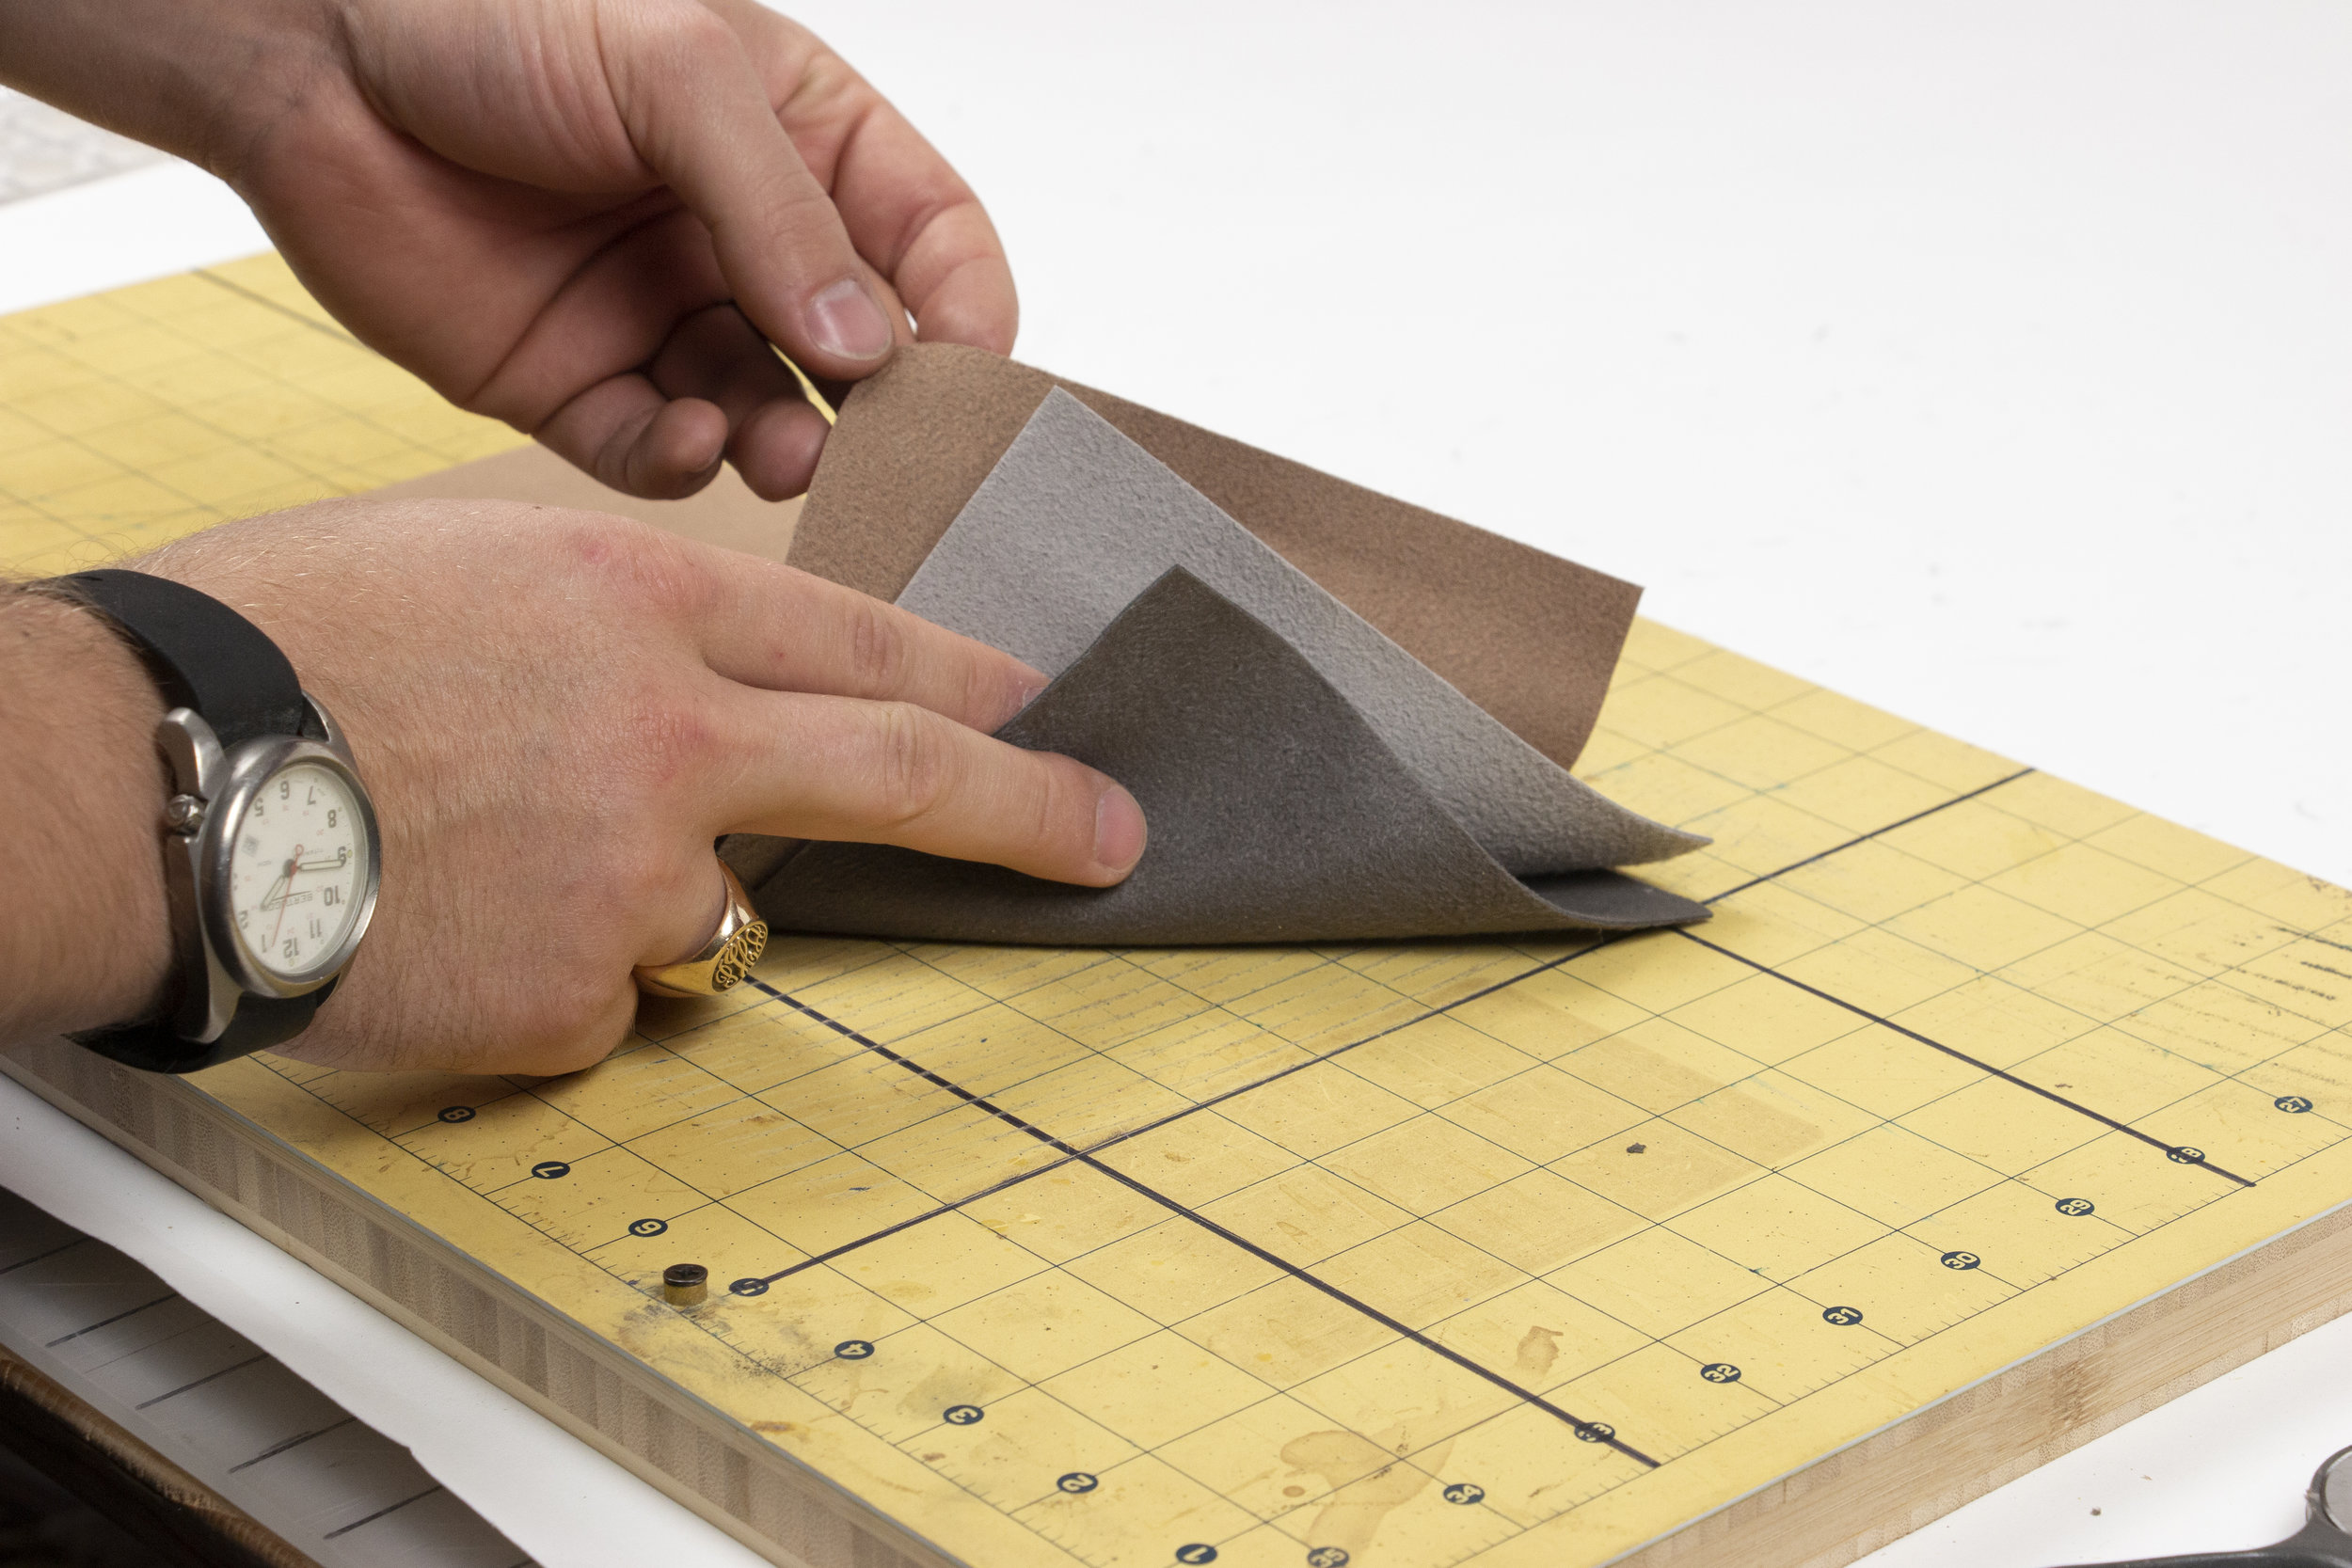


Comparison
The tassels in Melissa’s top hand were cut using the new system. They all are the same length, width and have sharp tips
The tassels in Melissa’s bottom hand were cut using the old method. They are not uniform, they vary in width, and some have blunt ends.

Time Savings
After implementing my new system, Melissa can cut eight times as many tassels as before, in the same amount of time.
Using the old method, it would take Melissa 9.25 minutes to cut 48 tassels, but with the new process, she can cut 144 tassels in 3.25 minutes.
Before, it took 11.5 seconds to cut one tassel, and now it takes 1.5 seconds, a savings of 10 seconds per tassel.
Melissa has cut 6000 tassels so far, and my new system has already saved her sixteen hours of work.

“These cutting templates are great! Now I can make as many tassels as we need in no time.” - Melissa